Custom-Branded Inflatable Tents: Print, Colours and Setup
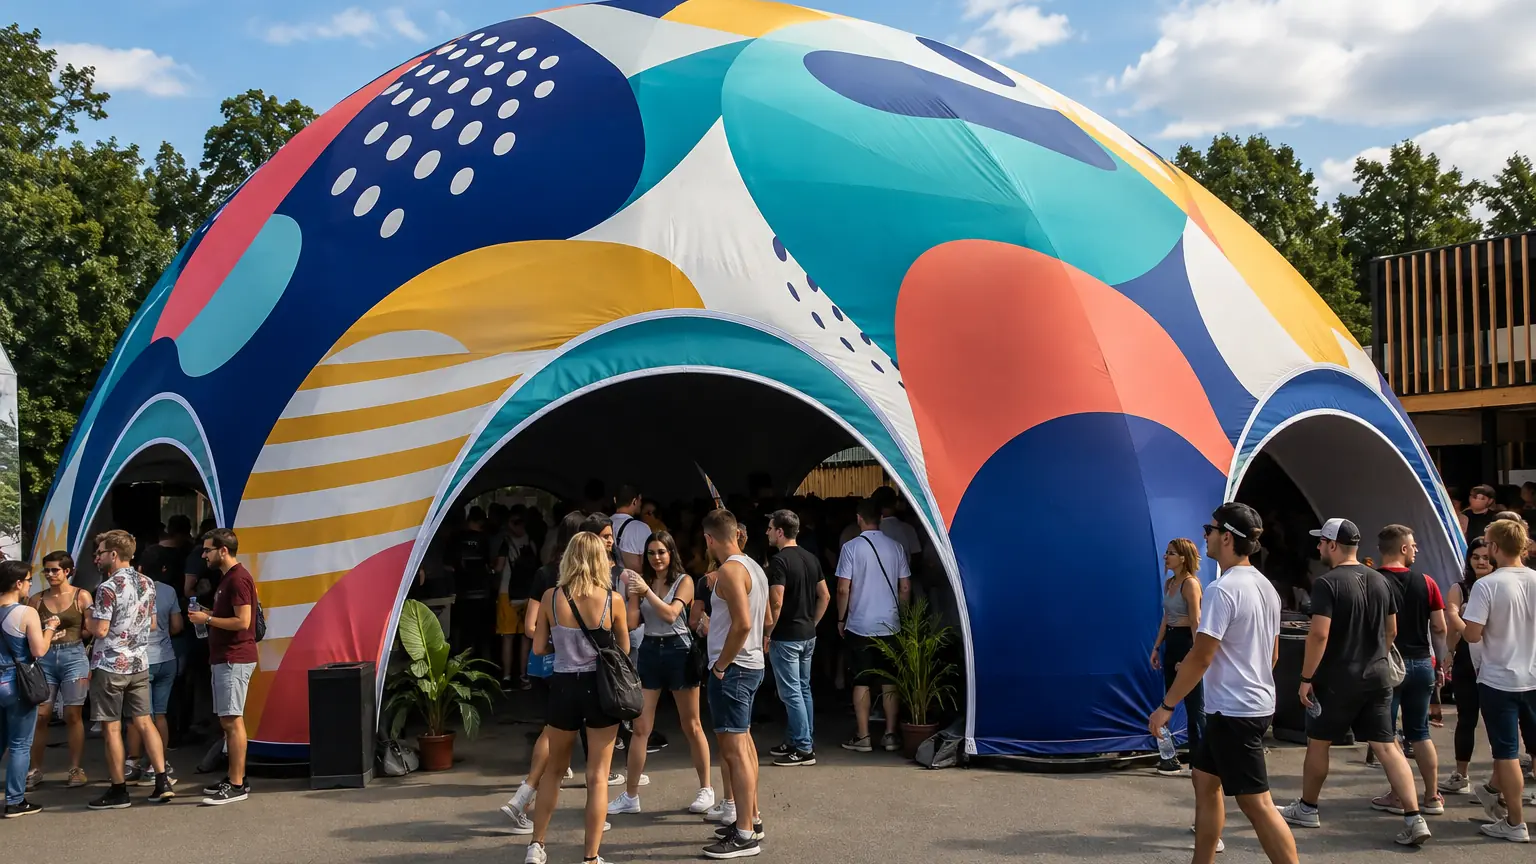
Most buyers order a tent for shelter and treat the branding as an afterthought — a banner clipped to the entrance, a logo printed small on one panel. That leaves the single largest curved surface at the event unused. A custom inflatable tent printed full-bleed across every panel turns the structure itself into the biggest branded asset on site, visible from further away than any banner stand and photographed in every wide shot of the venue.
The build is the same air-frame structure we cover in our Inflatable Tents Buyer’s Guide — this piece is about what happens when you stop treating the print as an add-on and start designing it as part of the structure from the beginning.
Print Methods: Matching the Process to the Artwork
The two production methods available on our 0.55mm PVC tent skins are direct digital print and dye-sublimation, and the right call depends on what the artwork actually looks like:
Direct digital print lays ink straight onto the PVC surface and handles sharp logo edges, solid brand colour blocks, and high-contrast typography cleanly. It’s the default for most corporate branding — wordmarks, sponsor logos, simple geometric patterns — where colour accuracy against a known Pantone or brand guideline matters more than photorealistic detail.
Dye-sublimation bonds ink into the fabric itself rather than sitting on top of it, which is the better call for photographic imagery, gradients, and full-coverage patterns that need to survive years of outdoor UV exposure without the print cracking or peeling at fold lines. It costs more and takes a touch longer to produce, but it’s the right choice when the artwork is more complex than a logo and two colours.
We cover the fuller tradeoff between these two processes — cost, durability, turnaround — in our print methods comparison, written for the wider advertising-inflatable range but directly applicable here.
Designing Colour and Layout for a Curved Structure
Artwork made for a flat banner does not translate directly onto an inflatable dome or arch tent — the panel seams and curved surfaces distort a straight-edged logo or a tightly-kerned wordmark if the file isn’t adapted first. A few things we flag at the artwork stage:
Panel seams break up continuous imagery. A background pattern or gradient that reads as seamless on a flat rendering will show visible breaks where fabric panels join. We map the artwork to the actual panel layout before print, not after, so sponsors or brand teams see exactly where seams fall.
Primary colour blocks read better than fine detail at a distance. A tent is usually viewed from 10+ metres away in an outdoor setting — small text, thin line art, and subtle colour gradients wash out at that distance under direct sun. Bold colour blocks and a large, high-contrast logo hold up; a business-card-style layout scaled up doesn’t.
Structural curves favour vertical brand elements. Logos and text oriented vertically along an arch’s rise distort less than horizontal banding wrapped around a curved dome — worth accounting for in the layout before the file goes to print, not after the first proof comes back wrong.
The branded air-beam tent project shows a printed colour stripe used on a lawn event registration tent. That project uses sealed beams, so it does not require a blower running throughout the event.
From Artwork File to Finished Tent: The Approval Timeline
The production clock starts at artwork approval, not at order placement, so the file-review stage is where lead time actually gets won or lost. A typical run:
- Artwork submission: vector files (AI/EPS/PDF) with Pantone references where colour accuracy matters; raster files need to be high enough resolution to hold up at full tent scale
- Panel-mapped proof: we return a rendering showing exactly how the artwork sits across the actual panel seams, not a flat mockup
- Approval and production: 7–15 working days after sign-off, depending on tent size and print method
- Sampling: for larger orders, a swatch or small-panel print sample can confirm colour match before full production — see our MOQ and sampling guide for what that process looks like
Multi-Tent Layouts: Keeping Branding Consistent Across Units
Buyers running more than one tent on site — a vendor row, a multi-bay entrance, a touring kit with a spare unit — run into a different problem: keeping the print consistent unit to unit when tents come from different production batches or get reprinted individually over a multi-year rollout. We keep the artwork file, Pantone references, and panel map on record against the order so a reprint six months or two years later matches the original rather than drifting on colour.
That record-keeping matters more for tents than for most other inflatables in the range, because a tent stays in service and gets reprinted or refreshed longer than a one-event air dancer or arch typically does. If your rollout spans multiple sites or franchise locations, the same standardization logic we cover in our franchise and multi-location branding guide applies directly to a tent fleet — treat the print spec as a fixed asset, not a one-off decision made at the first order.
Specs and Ordering
Standard build for custom-branded event tents:
- Material: 0.55mm PVC tarpaulin, flame-retardant, UV-stable
- Print: direct digital or dye-sublimation OEM full-color, panel-mapped proof before production
- Frame: continuous-duty CE-certified blower
- Lead time: 7–15 working days after artwork approval; container loading available for larger orders
Send us your logo files and the span you need, and we’ll come back with a panel-mapped proof before you commit to a print run. Browse the base inflatable tents range for sizing reference.