Choosing Print Methods: Dye-Sublimation vs Direct Digital Print for Outdoor Inflatables
Choosing Print Methods: Dye-Sublimation vs Direct Digital Print for Outdoor Inflatables
Most buyers get as far as “we need our logo on it” and stop there, leaving the print method up to whoever answers the RFQ. That’s a mistake worth avoiding, because dye-sublimation and direct digital print aren’t interchangeable options with the same result at different price points — they’re genuinely different processes that suit different artwork, budgets, and deployment timelines. Picking the wrong one means either overpaying for capability you didn’t need, or ending up with a design that doesn’t reproduce the way it looked on screen.
What each method actually does
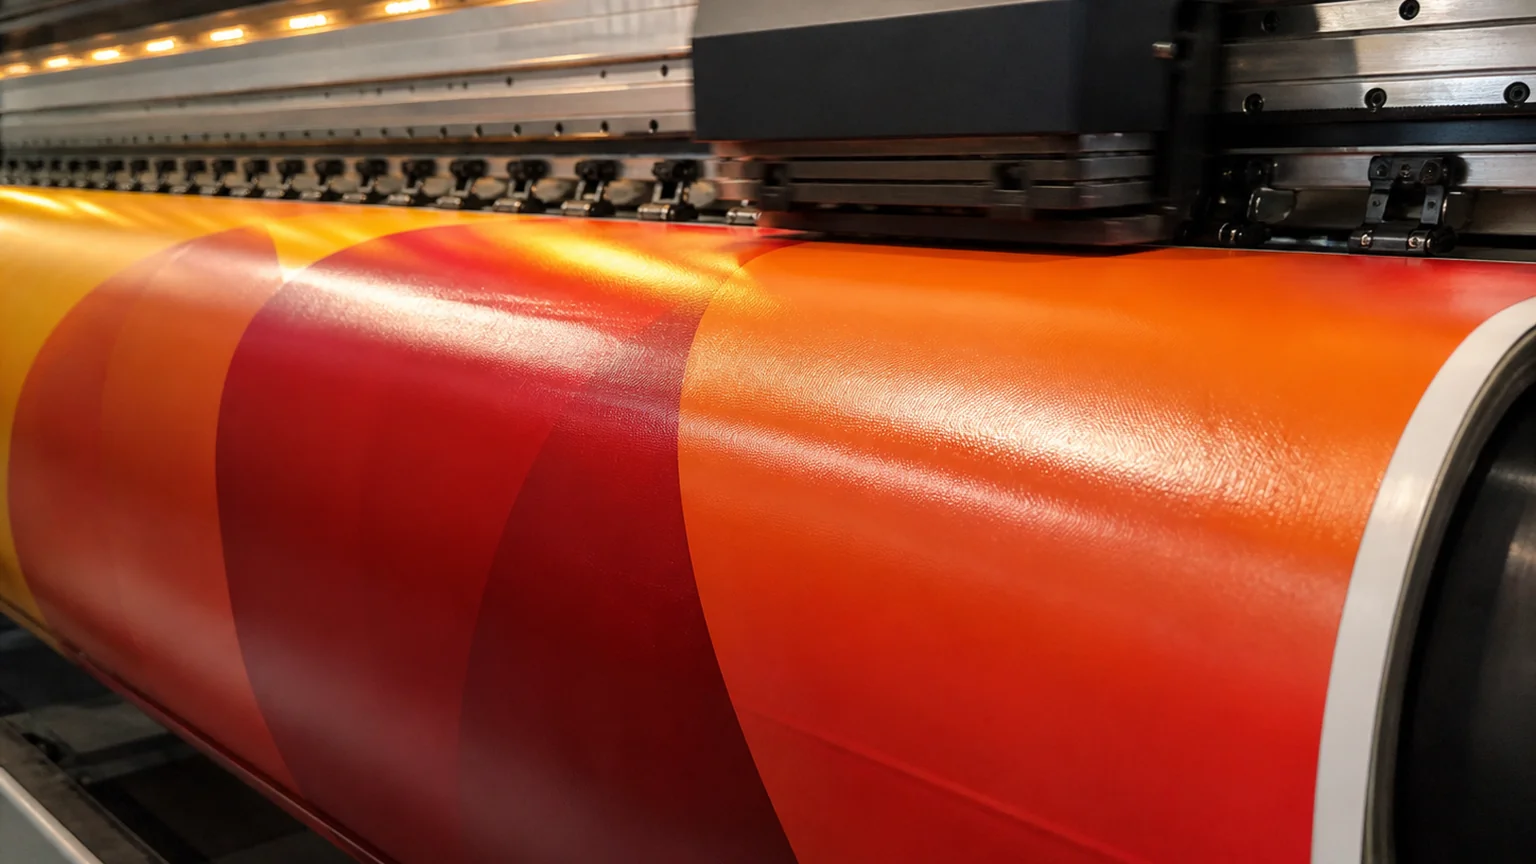
Dye-sublimation works by printing the design onto transfer paper first, then using heat and pressure to turn the ink into a gas that bonds directly into the fibers of the fabric — before the panels are cut and sewn into the final shape. Because the color becomes part of the fabric itself rather than sitting on top of it, the result holds up to flexing, folding, and repeated inflation/deflation cycles without cracking or peeling.
Direct digital print works the other way around: ink is printed straight onto pre-made or pre-cut panels, sometimes after the shape is already assembled. It’s faster to set up for simple jobs since there’s no transfer-and-heat step, but the ink sits closer to the surface, which matters more on curved, high-flex areas like the moving limbs of an air dancer than on a flat balloon panel.
When dye-sublimation is the right call
Dye-sublimation earns its higher setup cost on jobs where the artwork itself demands it: full-color gradients, photo-realistic branding, or a design that wraps continuously across multiple fabric panels without visible seams in the color transition. It’s also the better choice for anything going into long-term outdoor rotation — a mascot or giant character replica that’s going to sit outside through a full season of sun exposure benefits from color that’s bonded into the fiber rather than printed on the surface, since it resists fading and cracking better over repeated UV exposure and flex cycles.
The tradeoff is lead time and minimum complexity: dye-sublimation requires the transfer-and-heat step before cutting, which adds a production stage, and it’s generally not worth it for a single-color logo on a small run.
This is also why dye-sublimation is the default recommendation for ground balloons and helium spheres carrying multi-color or gradient artwork. A sphere’s curved surface shows print inconsistency more visibly than a flat panel does, and sublimated fabric holds an even, saturated color across the entire curve instead of fading toward the edges of a printed area — which is where digital print on curved surfaces tends to show its limits first.
When direct digital print makes sense
Direct digital print is the more practical choice when the design is simple — a one- or two-color logo, clean text, no complex gradients — and the order is small or the timeline is tight. Since there’s no transfer step, digital print jobs can often move through proofing and production faster, which matters for a campaign booked on short notice. It’s also frequently the more economical route for shorter-term deployments, like a single seasonal promotion or a one-off event balloon, where the fabric won’t be in outdoor rotation long enough for the durability gap to matter as much.
The limitation worth knowing about upfront: digital print on curved or high-flex surfaces is more prone to visible wear at stress points over time than sublimated fabric, so it’s a better fit for flatter panels and shorter service life than for a structure that’s going to flex constantly for years.
A common middle ground worth knowing about: some factories will run digital print on the flat, low-flex sections of a larger structure — a banner panel on an entrance arch, or a static base panel on a mascot — while using dye-sublimation only on the high-flex or high-visibility sections. This hybrid approach can bring the cost down on a large order without giving up durability where it matters most, though it depends on the factory having both processes in-house and being willing to quote a mixed job.
What to send the factory either way
Regardless of which method fits the job, the same artwork prep applies. Send vector files (AI or EPS) rather than flattened JPEGs so the factory can scale the design accurately across the fabric panels. Specify exact Pantone or CMYK values for brand colors instead of a screenshot — screen colors and printed fabric colors don’t always match without an explicit reference. And expect at least one digital proof before production starts; a second physical sample run is worth requesting for large or high-visibility orders, even though it adds a few days to the timeline.
Neither method is objectively “better” — they’re suited to different combinations of artwork complexity, order size, and how long the piece needs to survive outdoors. If cost is the deciding factor, our cost breakdown for custom inflatables covers how print method fits into the overall quote, and our piece on UV-stable printing for outdoor balloons goes deeper into the durability side specifically. For guidance on preparing artwork and specs before you request a quote, see how to brief a factory for custom advertising inflatables.